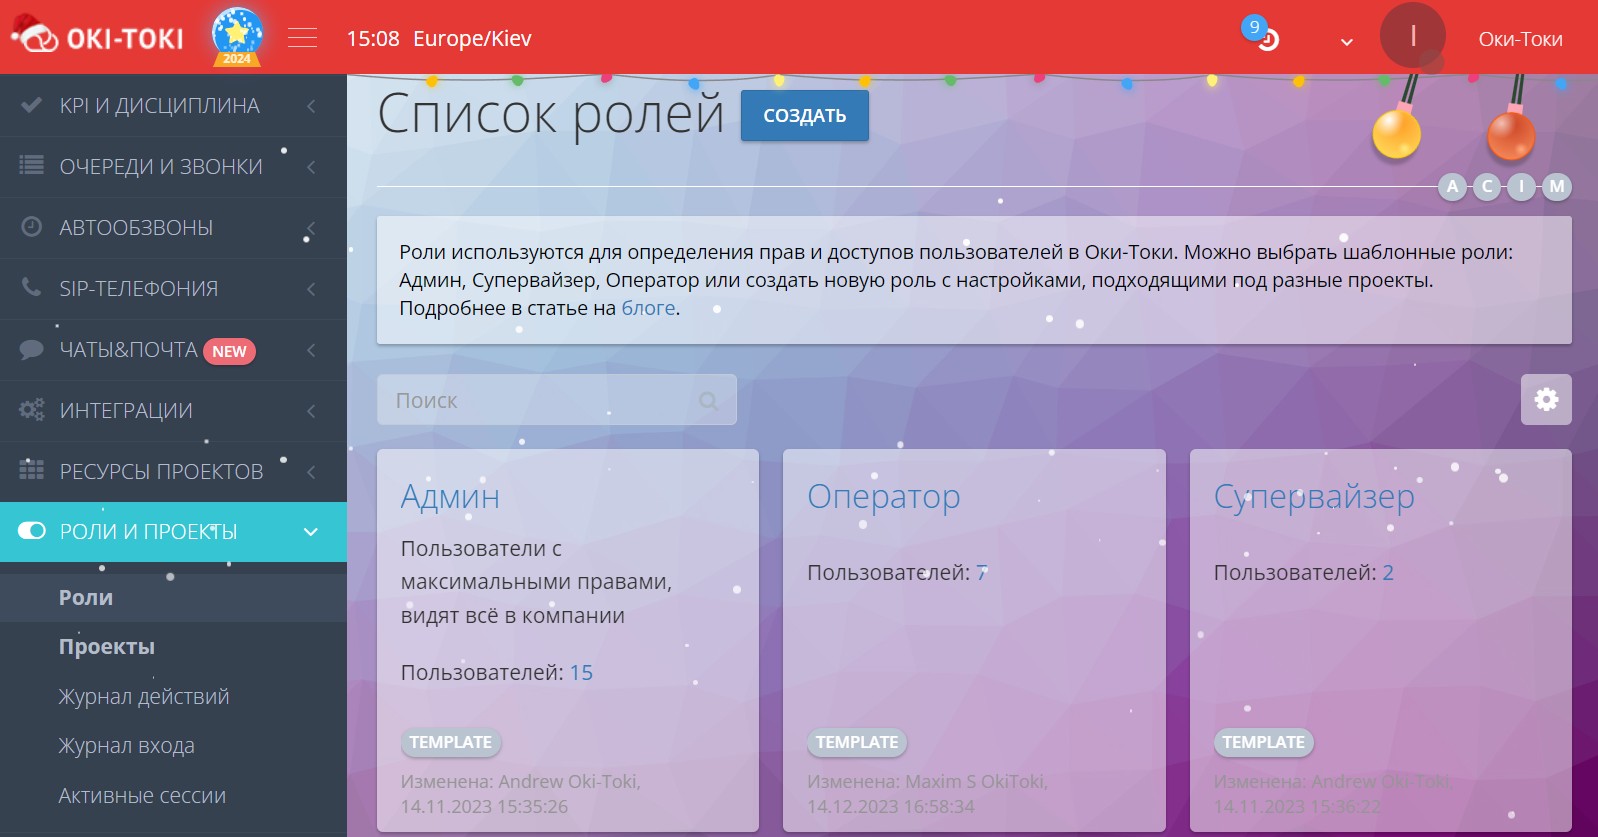
In all contact centers, employees must act within the responsibilities that define the rights and the scope of their application (contact center access). We have made the solution to this problem in our system in a tool called \"Roles\", located in the \"Roles and Projects\" section . There are only three of them, they are in all companies, they are template and cannot be adjusted:
- Admin – a user with maximum rights, has access to all functions in the company;
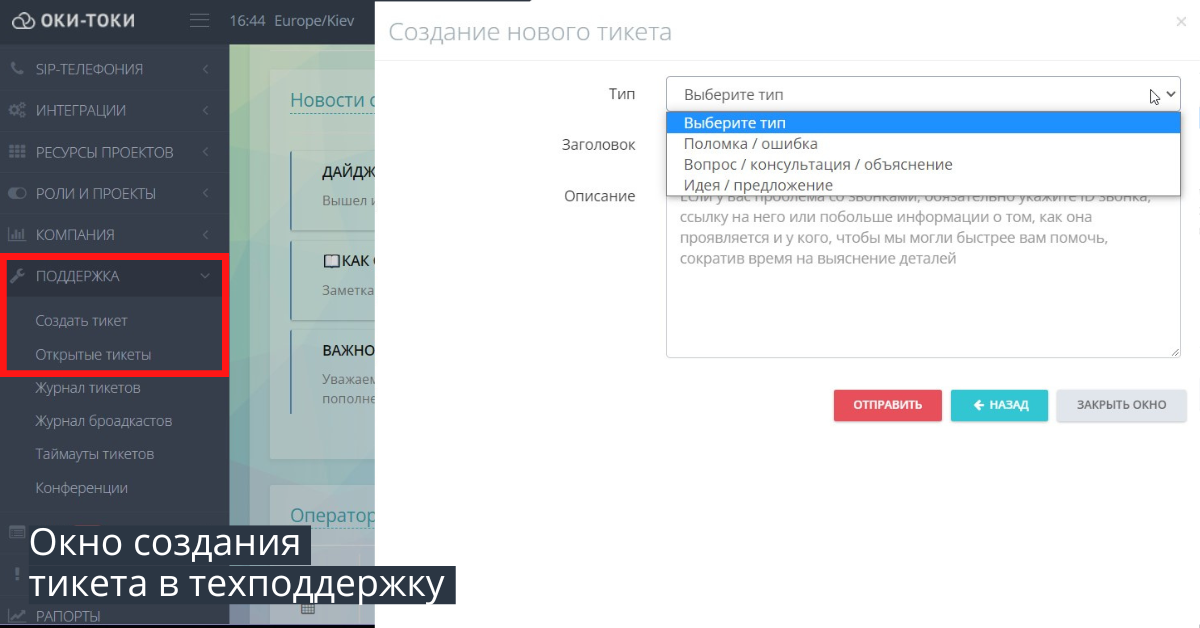
- Operator – can create a technical support ticket, view the call log in the operating room, view calls from all users;
- Supervisor – has access similar to the administrator, but is limited in financial settings, service settings and security.
Important! The Admin role is set to the first created user in the company.
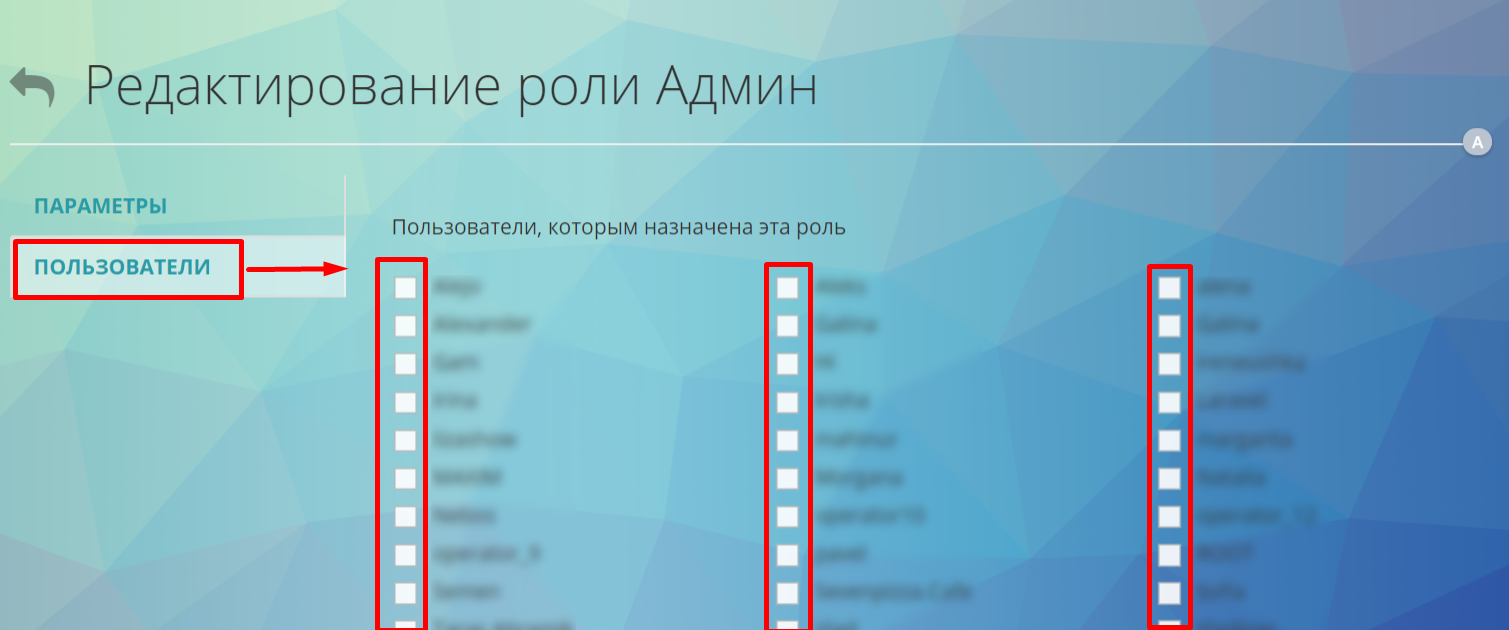
Assigning a Role to a User
To set up contact center access and assign roles, you need to go to the user settings item. Checking the checkboxes on users will grant them a role. After selecting users, be sure to click on the save button located at the end of the page.
Individual roles and security in projects
If the standard roles provided are not suitable and special personal settings are needed. For such a case, we have \"improved security\".
In addition to managing roles, \"improved security\" allows you to create, merge queues/dialers, etc. to projects, for which you can then restrict visibility to users. You can read more about it here.
Create a Role
If you need to create your own role, and the need for this will arise as the project grows and new positions appear.
To create an individual role, you need:
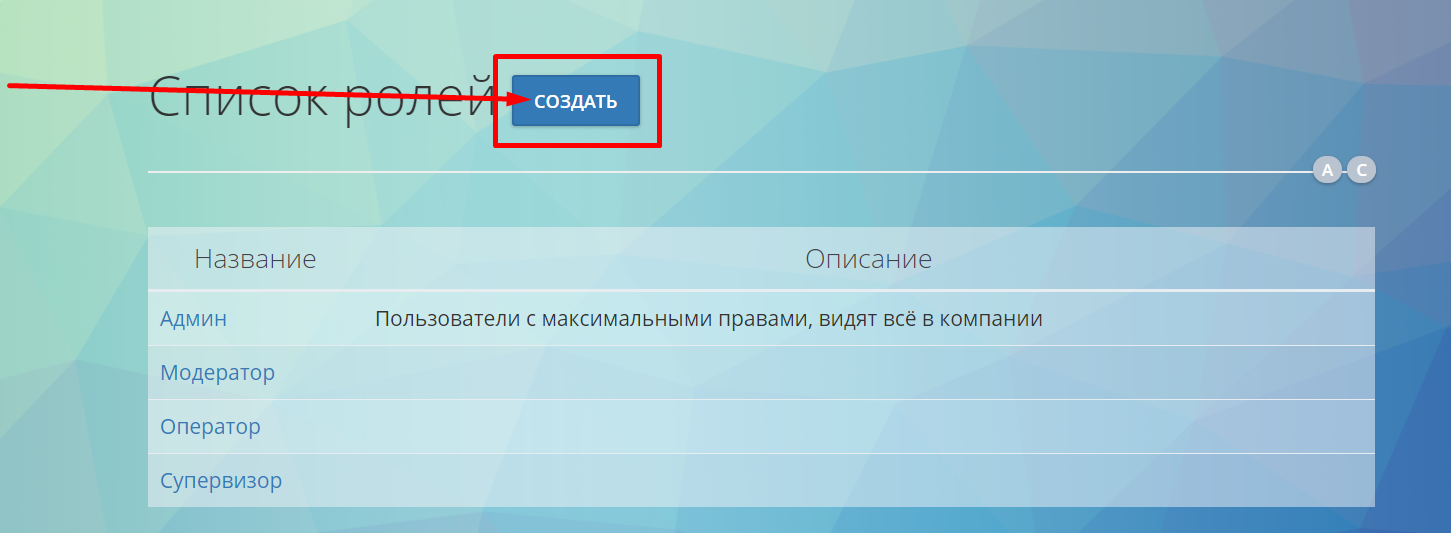
- Go to the section Roles and projects/ Roles – after the text \"List of roles\" there is a Create button – click on it;
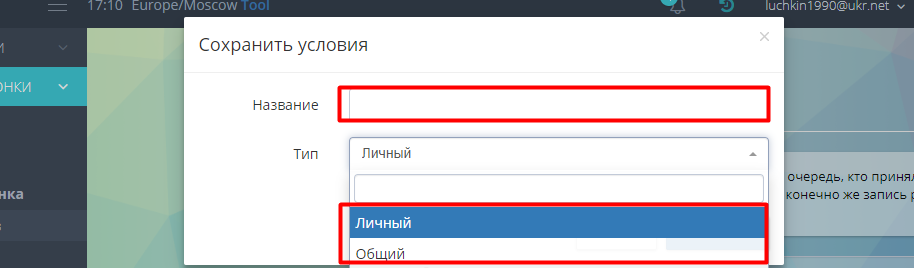
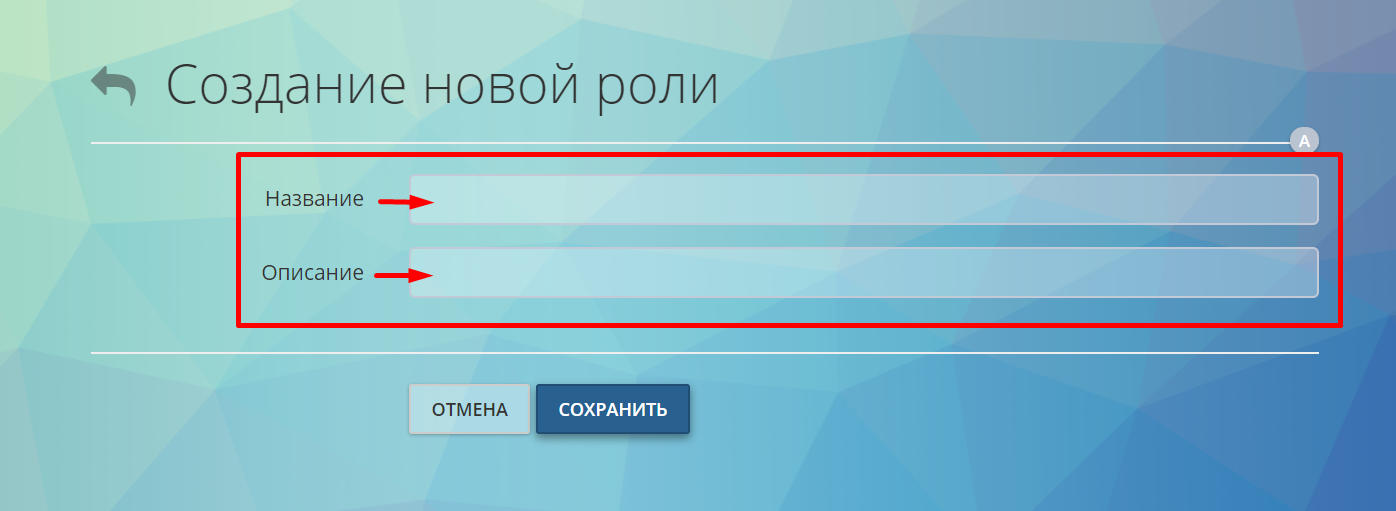
- Come up with a name for the role, for convenience, you can add a description, then click on \"save\";
- Now you have a personal role in the list;
- Assign this role to the user in the menu, for this you need to click on the role you created and in the window that opens, go to the users section.
Role change
To configure, select the role you want to change. By clicking on the name, in the menu that opens, you can check the boxes for the required rights. Changes will take effect immediately after you click Save.
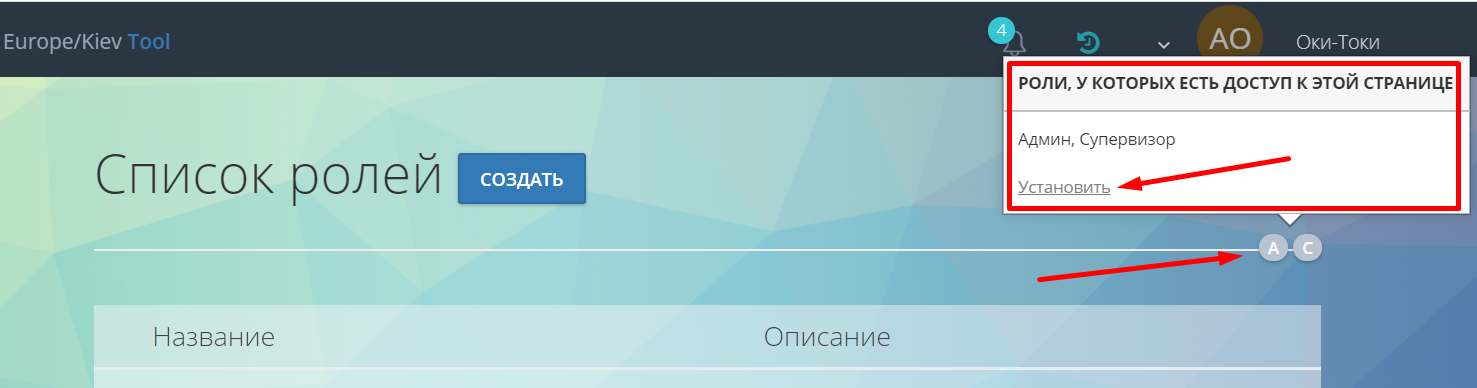
Bonus!
Try to manage access to a page or report from right there. To do this, hover over the round icons placed on the screenshot and click install. In the window that opens, allow or deny access to the module using the switch above the name of the required role. By the way, the round icons represent the first letter of the roles.
Thank you for your attention!
Andrey Fedyakin