
A dialog script is a tool that will help you easily communicate with clients using questionnaires. It contains phrases, questions and answers that agents use in conversations with clients, which helps agents be consistent and informative. In this article we will tell you how to create a Dialog Script with a client in Oki-Toki.
Video Instructions
We have prepared a special playlist to answer all questions related to dialog script (sales script) configuration. Watch how to set up a dialog script in 10 steps:
How to Create a Dialog Script in Oki-Toki
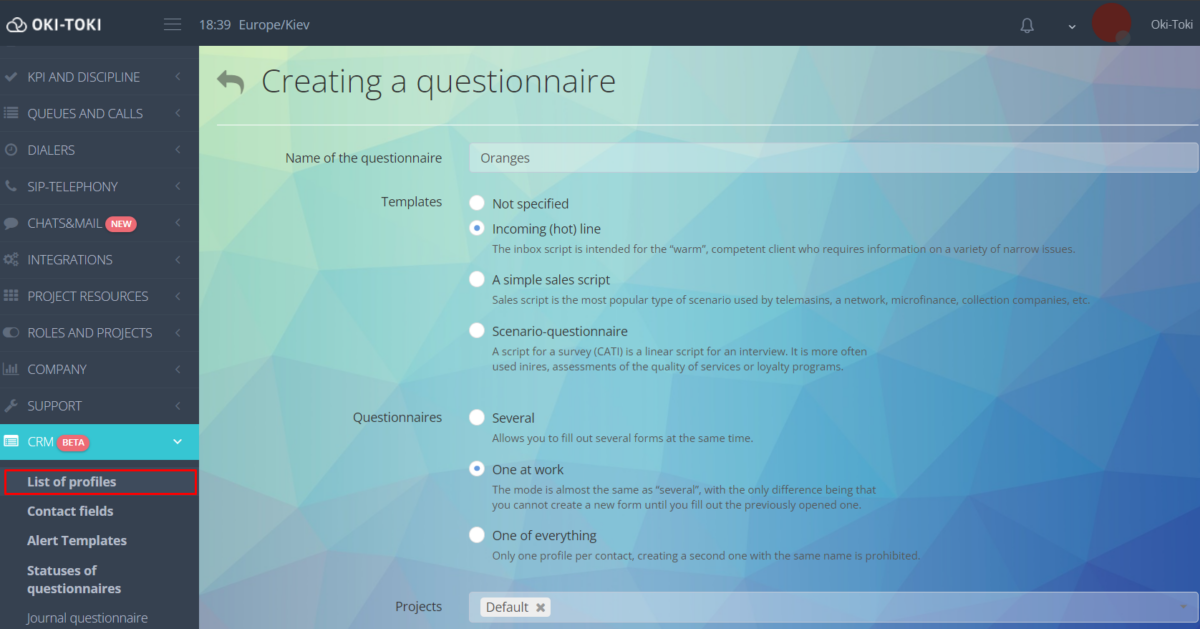
Go to the CRM section – Dialog Scripts and click the “Create” button.
- In the opened form you can choose a ready-made questionnaire template for inbound line, sales or surveys. You also need to select a project and number of questionnaires per client.
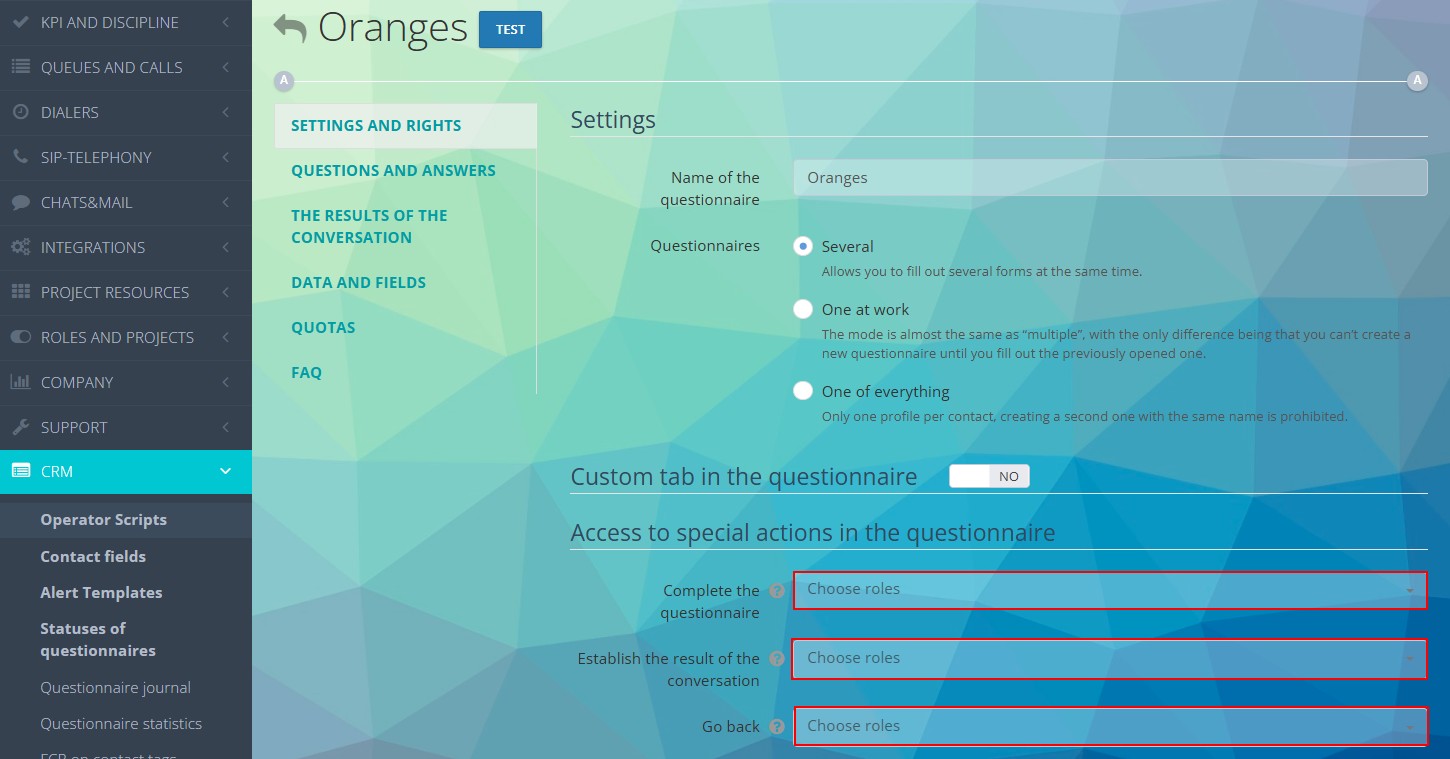
- After saving the parameters, a list of dialog scripts will open, select the one you just created and let’s proceed to settings.
- In the “Settings and Rights” section, specify access to special actions in the questionnaire: whether the agent will be able to go back to the previous question in the questionnaire, forcibly complete the script and set the call outcome.
How to Configure Questions in Dialog Script
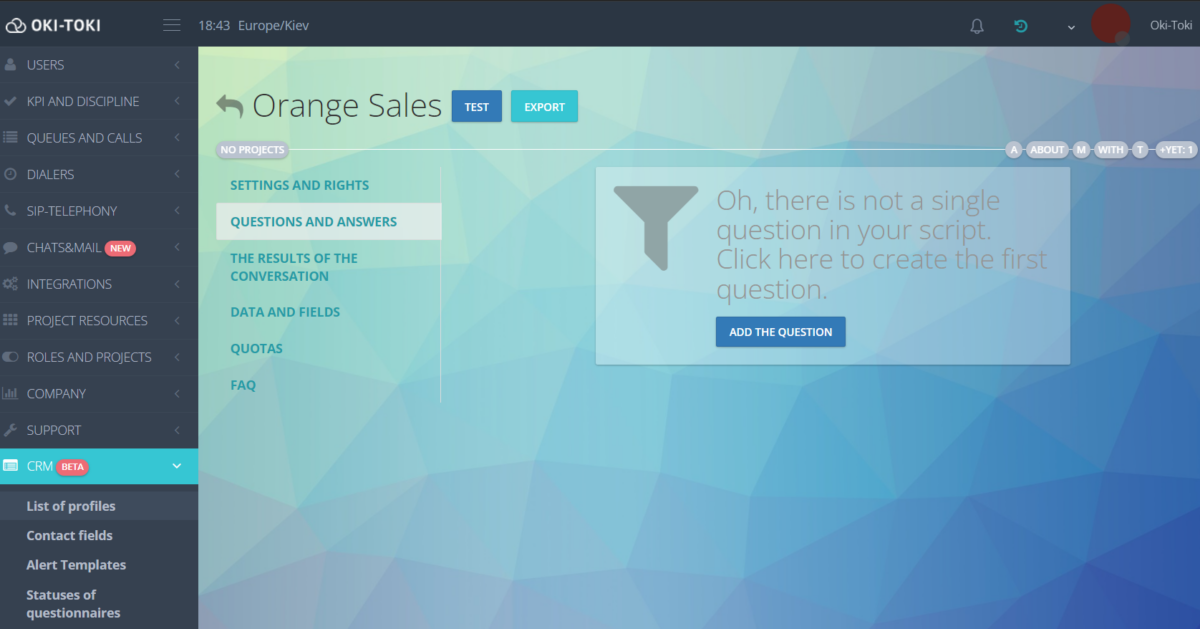
If when creating the dialog script you chose a ready-made template – you can simply adjust it to your task, if you didn’t choose one – you’ll have to create it from scratch.
In the “Questions and Answers” section, click the “Add Question” button
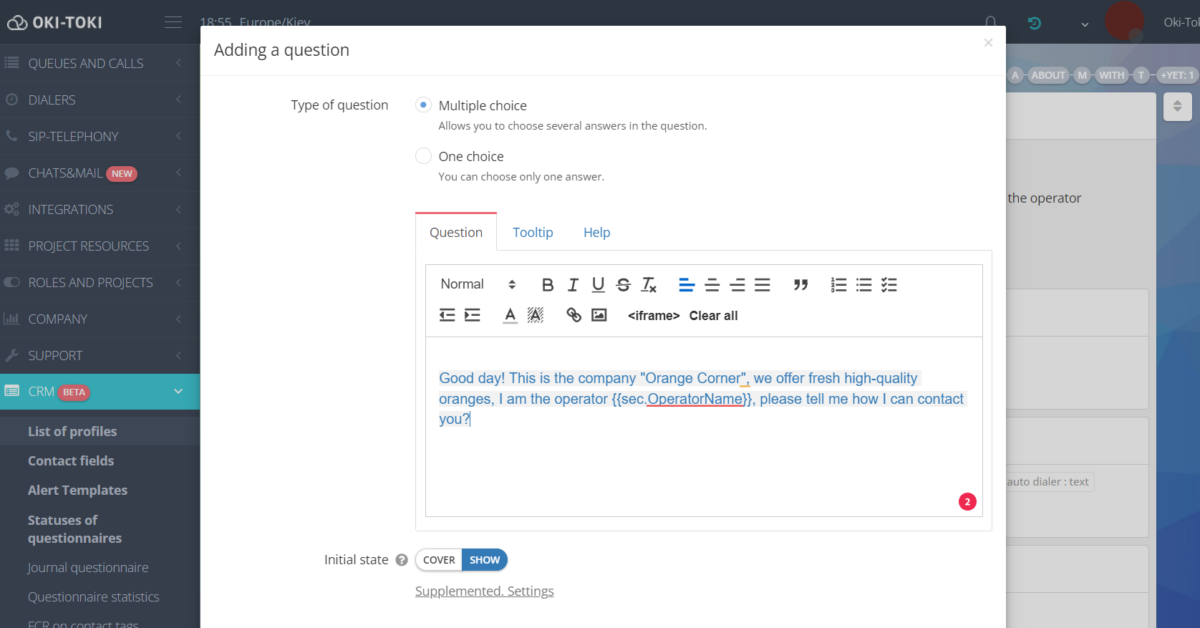
Question settings can be left as default or selected depending on the case. Detailed description of parameters:
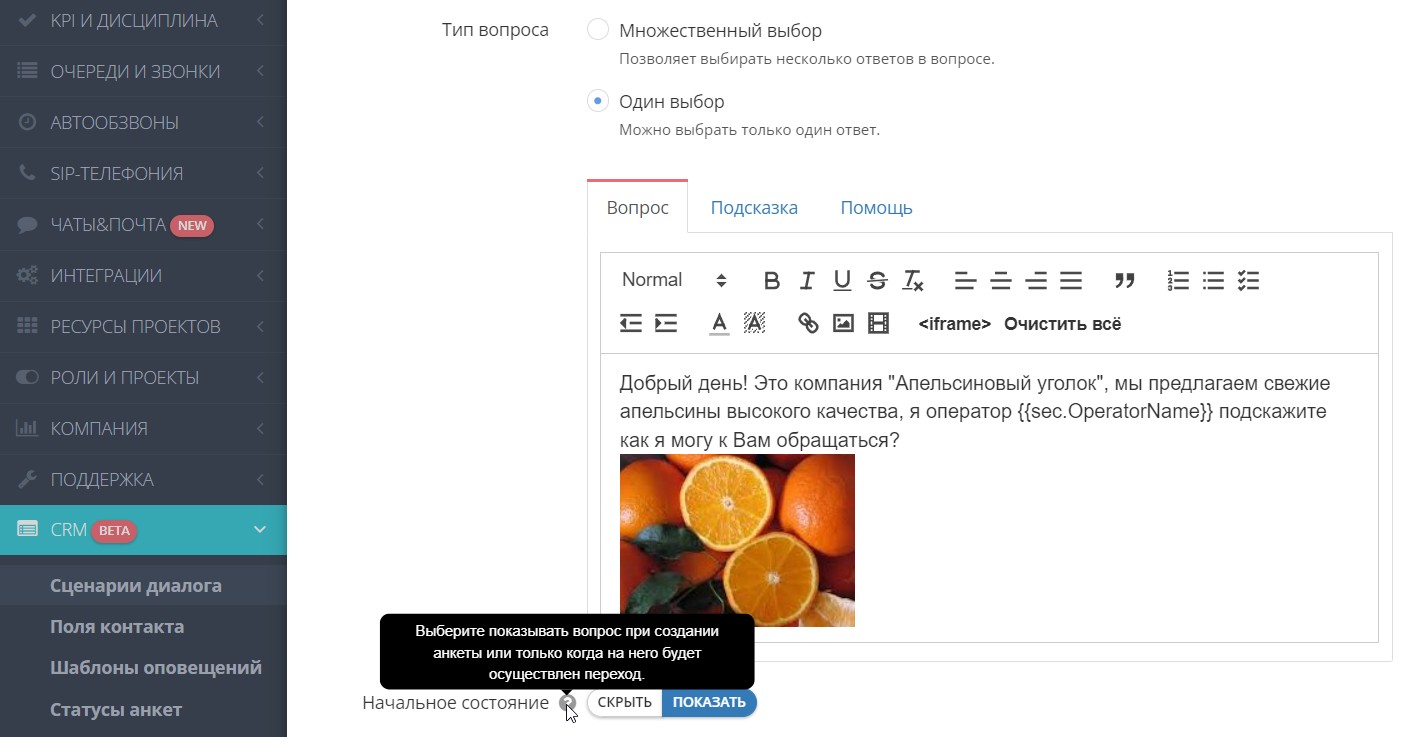
- Question Type – single choice or multiple, meaning the agent will choose one answer or several for this question;
- Question Text – here write the text for the question that the agent will say to the client. There is an option to use different colors and fonts, attach an image, video, link, etc.;
- Hint – additional information for the agent, which will be displayed under the question;
- Help – reference data for the agent. Unlike hint, available for reading only when hovering over the help icon;
- Initial State – parameter allows hiding the question at questionnaire start. Usually the first question is shown, and the rest are hidden and displayed after filling in the previous one;
- Question Visible – select user roles that can see this question, by default all roles are selected;
- Link to Hint – you can add a link for the agent, which they will follow in one click from this question. If you check the box “Auto-open link to hint” – the link will open automatically when transitioning to the question.
- Replaceable Values – variables used in “Question”, “Hint”, “Help” and “Link to hint” fields. For example, the variable {{sec.OperatorName}} will insert the agent’s name into the question text, and {{contact.Name}} – the client’s name.
- Name in Report – question text will be replaced with the specified name in this field when generating a report.
- Change Questionnaire Status – completing this question will change the call status to the specified one.
After creating the question, you can proceed to configuring answers to it.
How to Configure Answers in Call Questionnaire
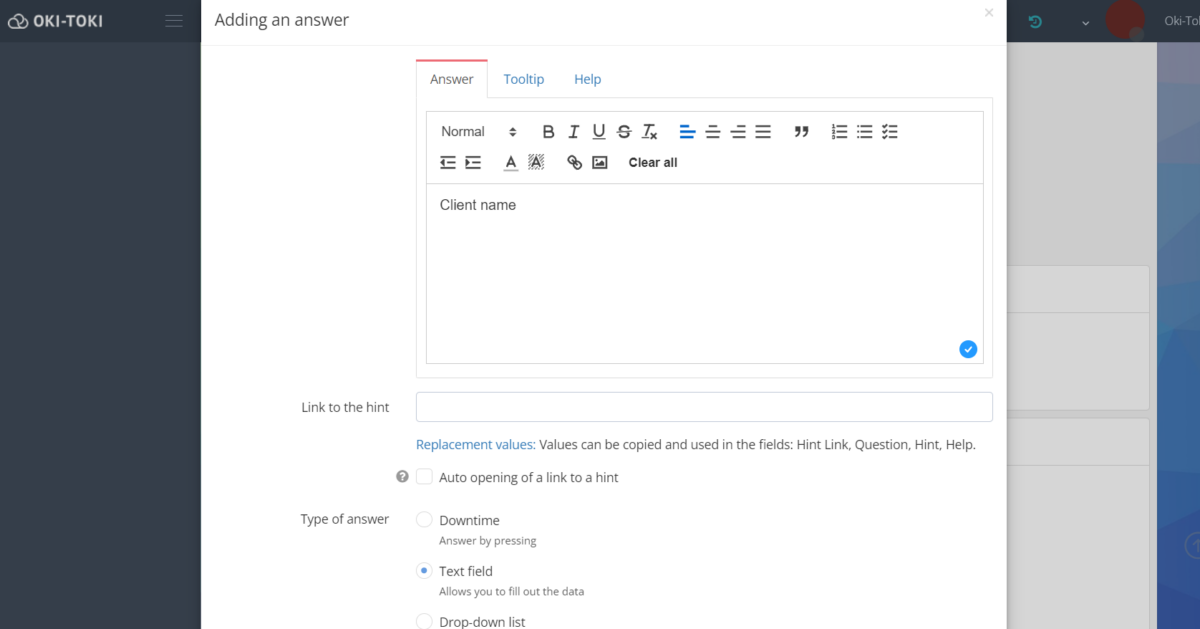
In the created question, click the “Add Answer” button and a window with answer option settings will appear. In addition to the standard settings described above for “Question”, in answer settings you need to specify additional parameters.
Choose the answer type for the question:
- Simple – selecting an answer to the question by clicking.
- Text Field – in the answer field the agent can write text, for example, client data or a detailed answer to the question.
- Drop-down List – this type of answer requires selecting the desired option from a drop-down list. The list is pre-created “via link“.
CRM
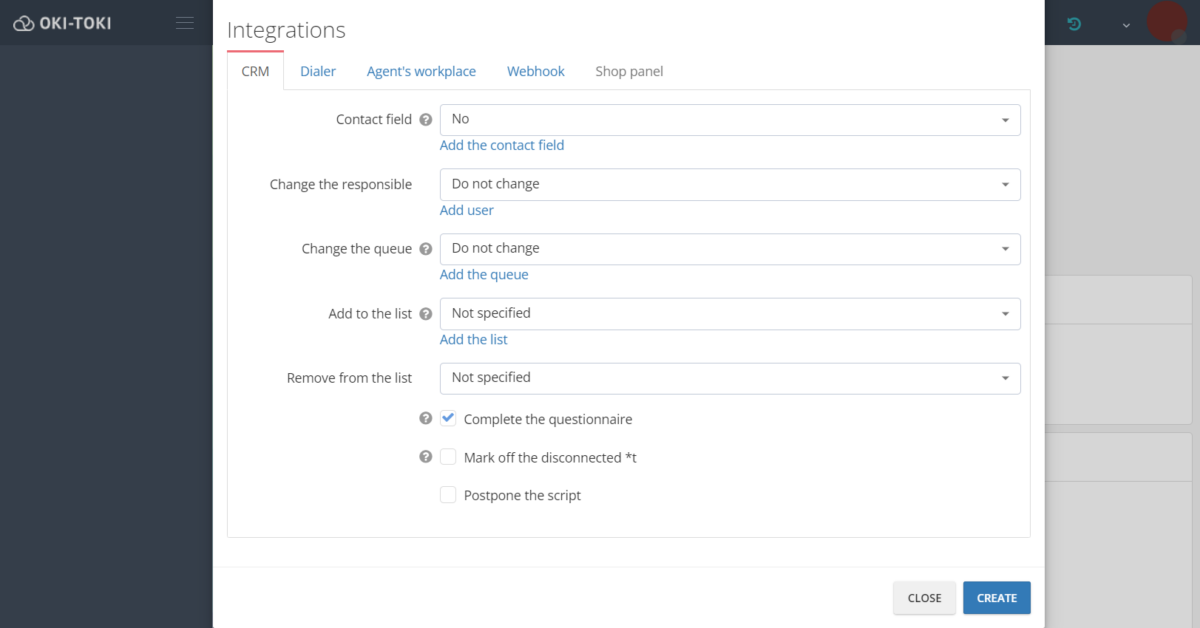
The CRM tab has additional settings:
- Contact Field – the content of the text answer will be linked to the contact field. For example, if the agent enters the client’s name – on the next call the client’s name will be indicated in the questionnaire field.
- Change Responsible and Change Queue – used if when answering this question you need to change the project or change the agent, for example to a manager.
- Add to List – can be used to add a number to “Blacklist” if the client is aggressive or conversely to “VIP-list” of numbers, etc.
- Complete Script – checkbox for the final answer that completes the questionnaire.
Dialer
Here is the setting to remove a task from the dialer or add it, and also assign a specific agent or group. For example, the client doesn’t want to buy oranges, but wants to buy apples, the agent selects this answer option and the client’s number is added to the “Apples” dialer. When adding a task to another dialer, you can specify the exact time to call this client back.
Agent Workplace
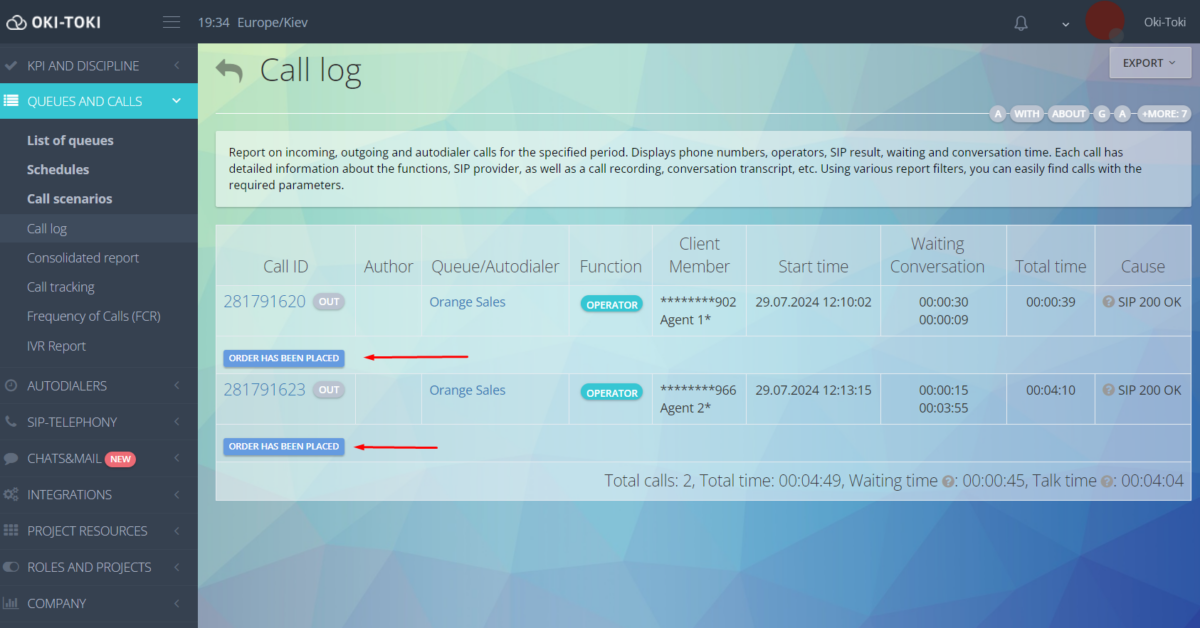
In the Agent Workplace tab you can set a call hashtag, for example “order” and in the call report find all calls with “orders”.
Webhook
In the Webhook section you can create a webhook, for example sending an email, Telegram message to manager when selecting this answer or adding a task to a third-party CRM.
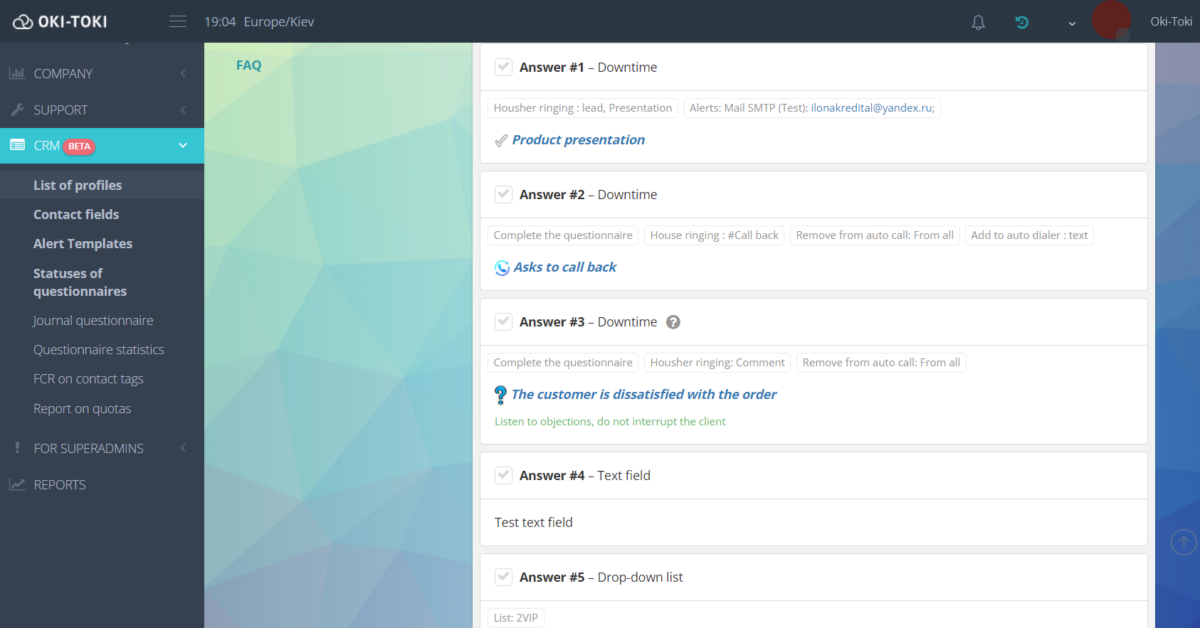
For each question, you should create many different answers depending on the call goals:
- For the “Agreement” answer, a hashtag is suitable to find these calls when generating a report.
- In the “Refusal” answer, it’s also convenient to use a hashtag for reporting. If after this answer the conversation should end – it’s useful to activate the “Complete script” parameter.
- If the client asks to “Call Back” – select the dialer to which the task will be added for automatic callback to the client. The callback time is specified in the answer settings or the agent independently sets the date and time in the questionnaire.
- If you add a “Comment” answer – the agent will be able to write additional information about the client in the questionnaire. Choose the answer type – “Text field” so the agent can write text. And using “Contact field”=”Comment” this data will be saved in the client’s questionnaire, which is convenient for subsequent calls.
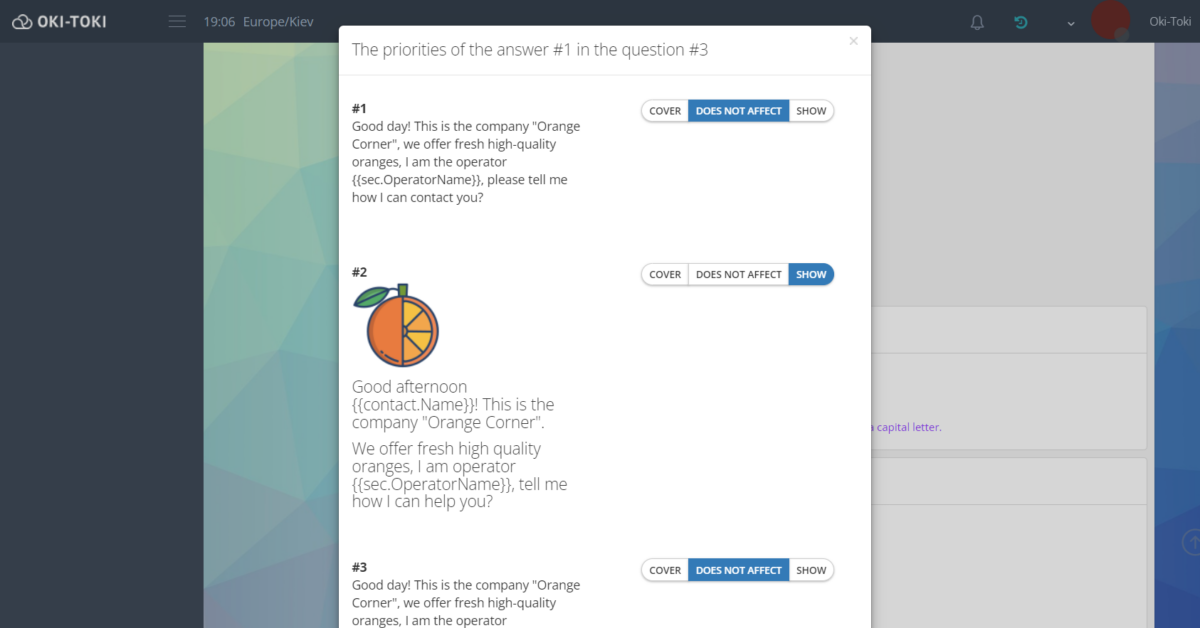
Connection of Questions and Answers: Priorities
In the “Questions and Answers” block, priorities are configured for multiple dialog development branches.
- In question settings you need to specify “Initial State” – so that when opening the questionnaire the question is shown or hidden. If you leave all questions open – the agent will see the entire dialog script or you can show questions sequentially (until they fill in the answer to question 1 – they won’t see question 2).
- Each question and answer has a “Priorities” button to select the question that will appear next after the current question/answer.
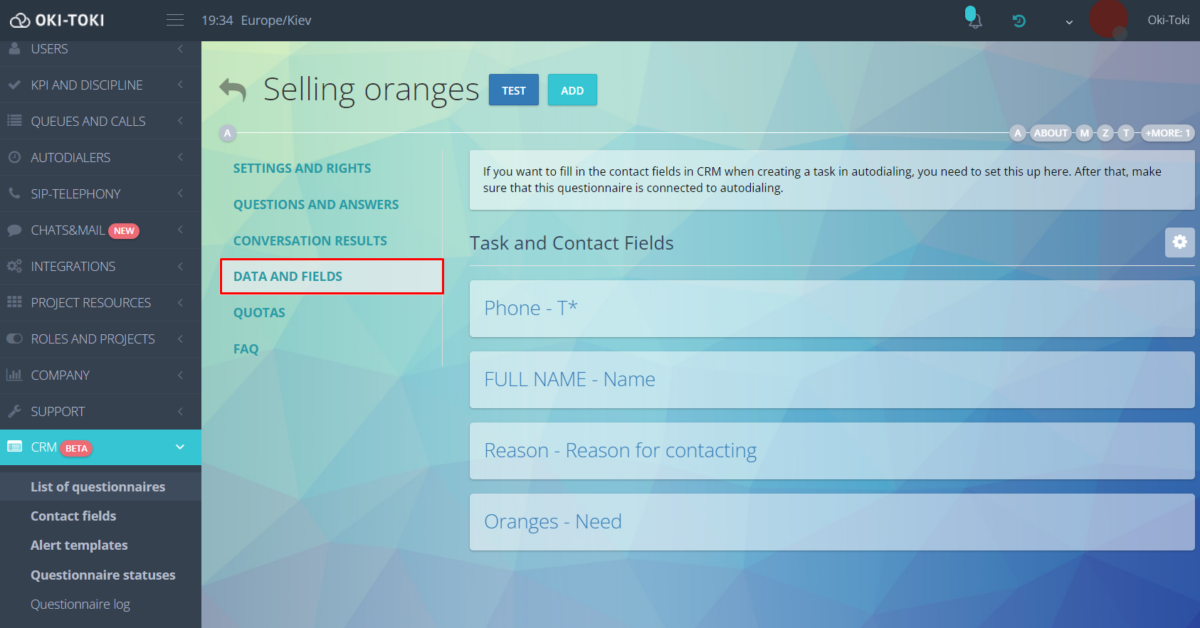
Data and Fields
This tab is useful for those cases where the company imports contacts into CRM with client data, and also adds phone numbers and additional fields to the dialer via API.
After clicking “Add” in the “Parameter” field enter the field name that will be passed via API and contain the corresponding value, while observing the case. In “Contact Field” you need to select the contact field where the value will be placed.
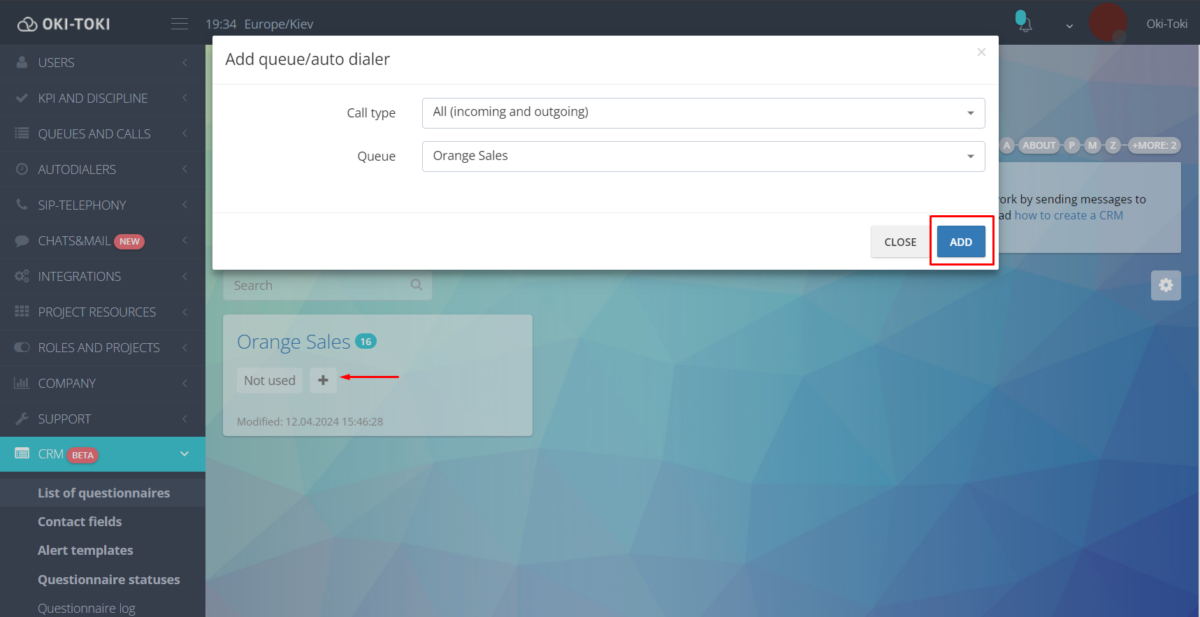
Questionnaire Binding
So, the questionnaire is configured, questions and answers are created, priorities are set. The last step – you need to specify for which calls the questionnaire should open. Return to the “Dialog Scripts” section and click the plus (+) on your new script. In the opened window, specify the call type and call source: for inbound and outbound calls specify the queue, and for dialer – the corresponding dialer. Also in queue and dialer settings you can specify whether the questionnaire will open forcibly or by clicking a button in the agent workplace.
Additional
- How to create a questionnaire from Google Docs in Oki-Toki – read in the blog article.
- About questionnaires for conducting surveys, quality assessment of services and loyalty programs there is an article “Questionnaire for CATI Research“.
- Ready-made scripts for call-center are in a separate blog article.
- How to configure sending emails from questionnaire read in the article “E-mail Template for Sales Script“.
- Recommendations for effective scripts for inbound calls read in a separate blog article.