What is a dialer?
A dialer is technology that automates the calling process, making it predictable and efficient. A robot calls instead of an agent, never gets tired, and does not make mistakes. When live communication is needed, the robot transfers the call to an employee. Dialers are especially useful when a large number of numbers need to be called in a short time, for example, as part of an advertising campaign or survey.
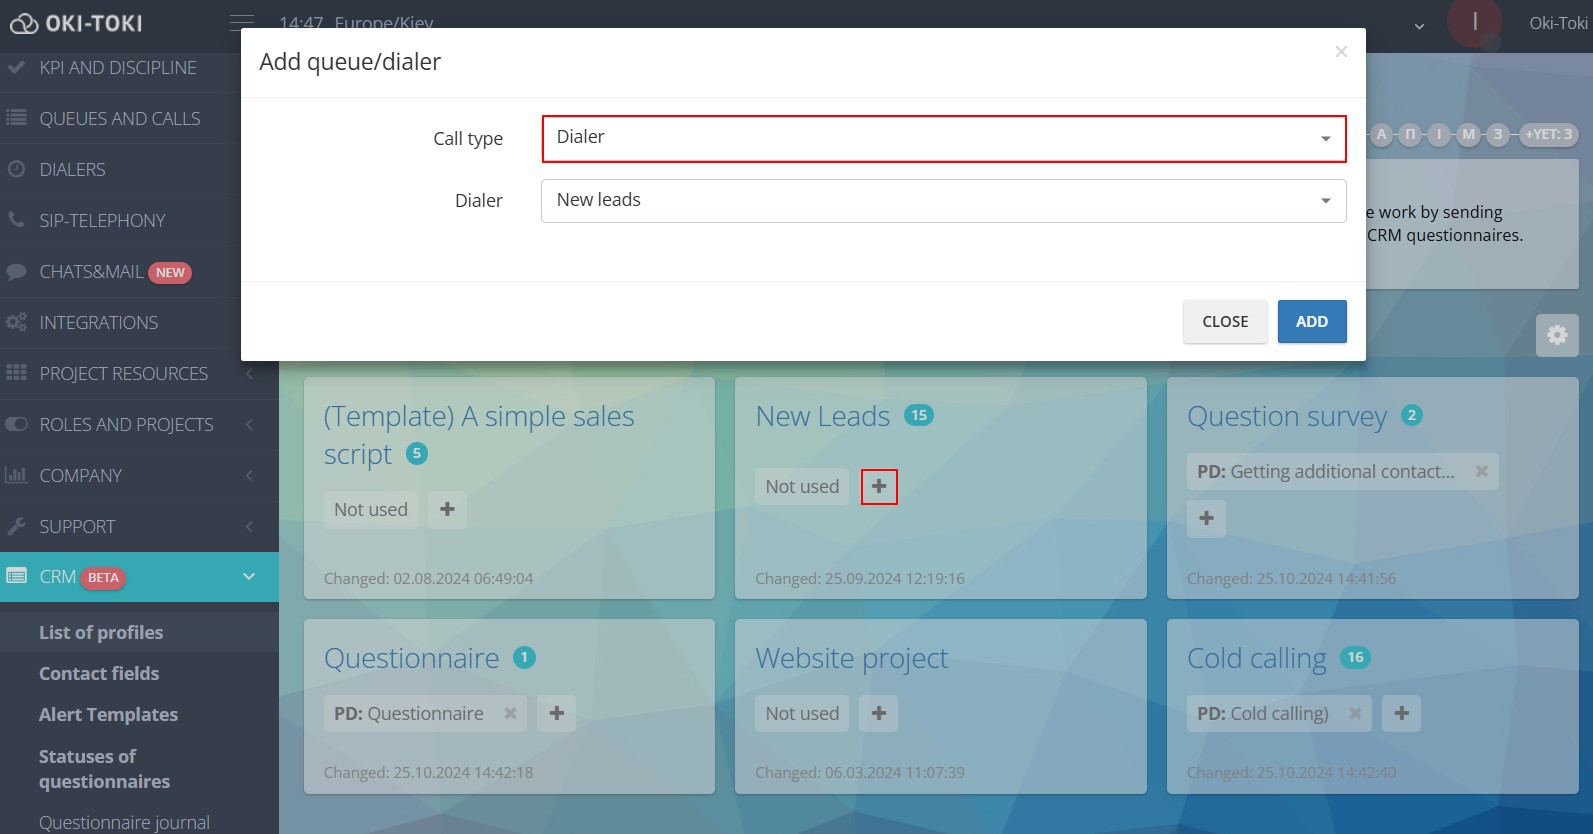
Settings in Oki-Toki
Setting up the dialer is simple and intuitive. In the interface, a new dialer is created, the necessary settings are selected, agents are assigned, a SIP provider is chosen, and a customer base is uploaded. Detailed step-by-step instructions for setting up and number import are available in separate articles.
For dialers with call center agent transfer, 4 modes are suitable:
- Progressive mode – the simplest and slowest, well suited for small groups as it dials one line for each available agent.
- Power dial – more intense calling with the ability to specify the required number of lines.
- Predictive mode – dynamic mode, 10-15 agents recommended for proper operation.
- Callback mode – suitable for “callbacks”. The dialer first dials a free employee, alerts them of the planned call, and then calls the customer.
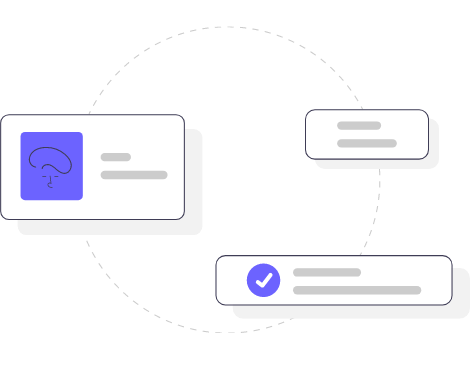
More about all dialer modes can be read on the blog.Note the line setting. Specify the number of lines based on the number of agents and the maximum allowable load.
If the reports on the dialer’s operation include a “SIP 603 Decline” error, it means that more lines are configured than your SIP provider offers and the calls do not go through.
If you often see the error “Call drop: no free agent” – you can reduce the number of lines per employee, as the calling rate is too intense.

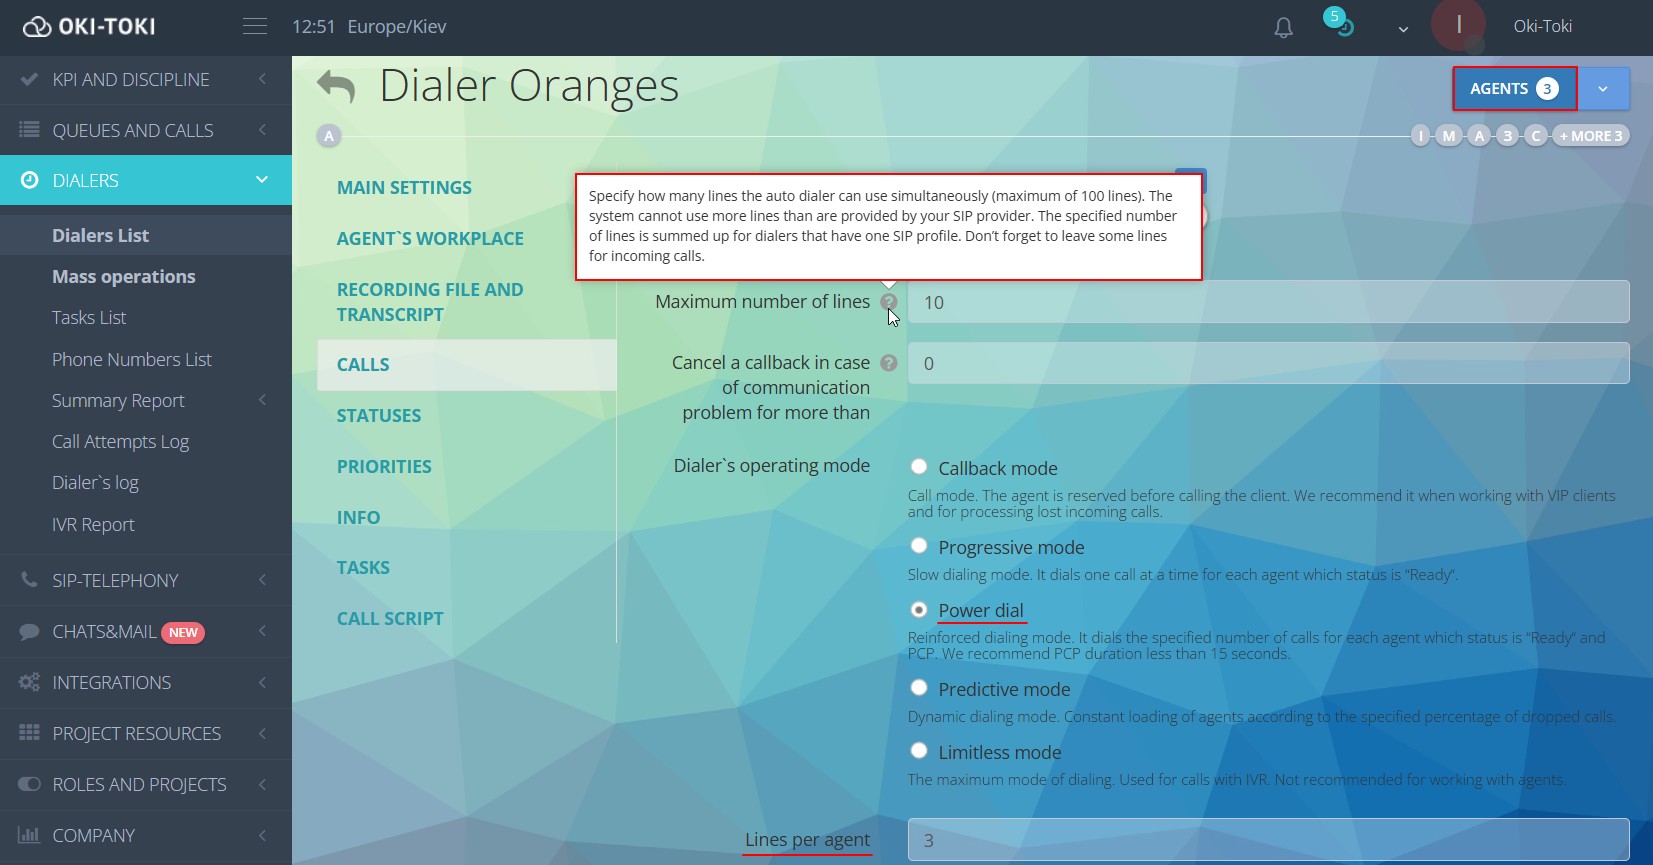
How to assign agents to the dialer
If agents are not assigned to the dialer – calls will not go to them. In the settings, indicate the employees who will take the calls.
In Oki-Toki, there are agent priorities, to specify who will take calls first. Select the desired priority from 1 to 10, where 10 is the most intensive. If you set it to 0 – calls will not go to agents.
Less experienced employees and interns can be given a lower priority so as not to overwhelm them at the start of their work. Also, a lower priority suits agents assigned to the incoming line and taking calls from customers.
Integration with other systems
Oki-Toki can be integrated with external CRM systems, corporate servers, and other environments that support API, so all information is automatically saved in a unified database. This helps avoid errors when transferring data and speeds up work.
For example, as a result of a conversation with a customer in Oki-Toki, all data about the call and the filled questionnaire are duplicated in the external CRM of the company. In another case, a new lead from the company’s CRM can be automatically added to the dialer in Oki-Toki.
Dialer with contact center CRM
External CRM questionnaire
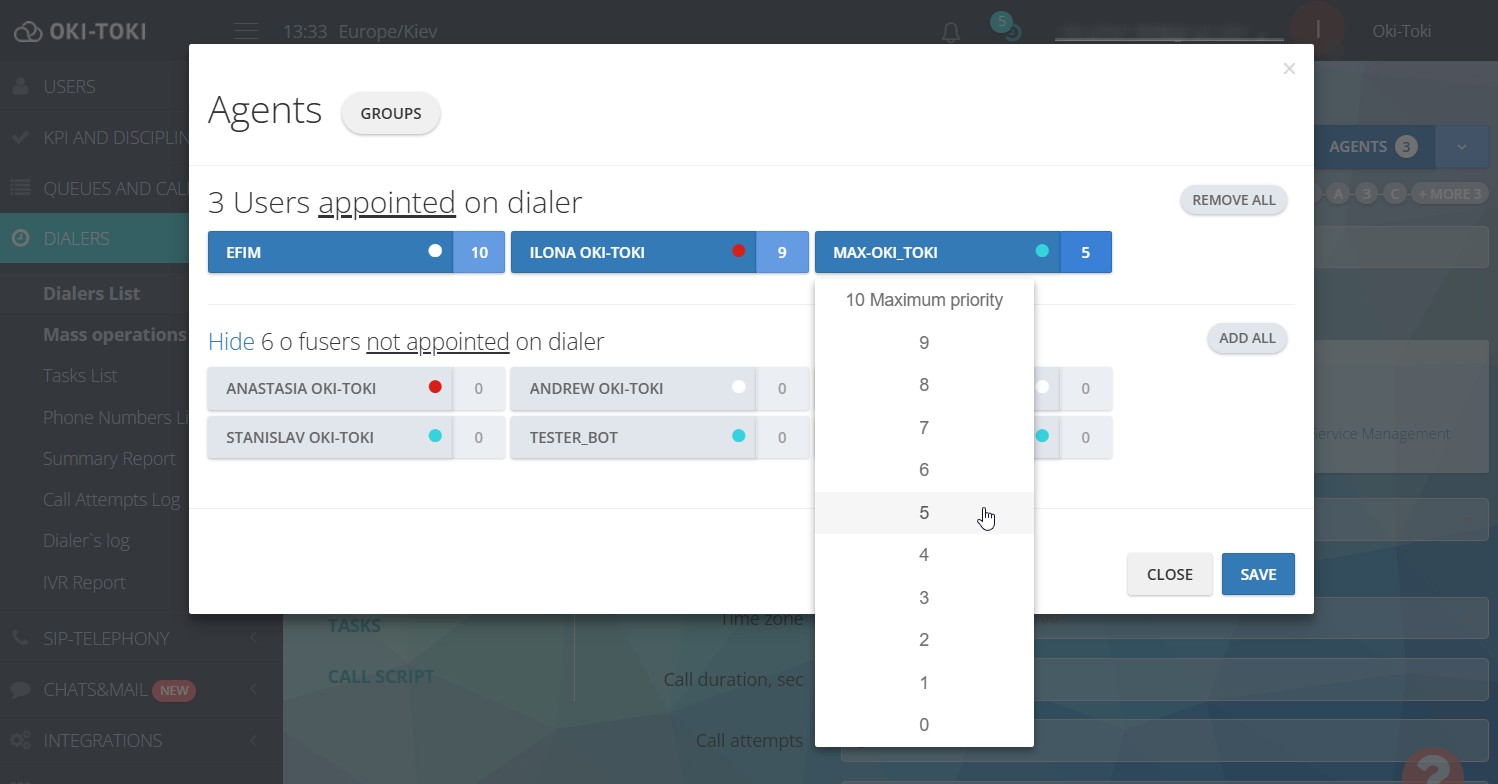
If your company uses an external CRM system, such as “Kommo CRM”, “LeadVertex” or “Zoho CRM”, which needs to be opened when connecting with a customer, this can be specified in the dialer settings. In the “Integration” section, select “External CRM” and indicate the URL link to be opened. You can use variables that will replace parts of the link with fields from the contact, such as the order ID.
When an agent receives a call from the dialer – the external CRM will open in a new browser tab for filling.
Oki-Toki CRM form
In Oki-Toki, there are built-in forms integrated into the system. You can create a template for your business process, such as a survey or sale.
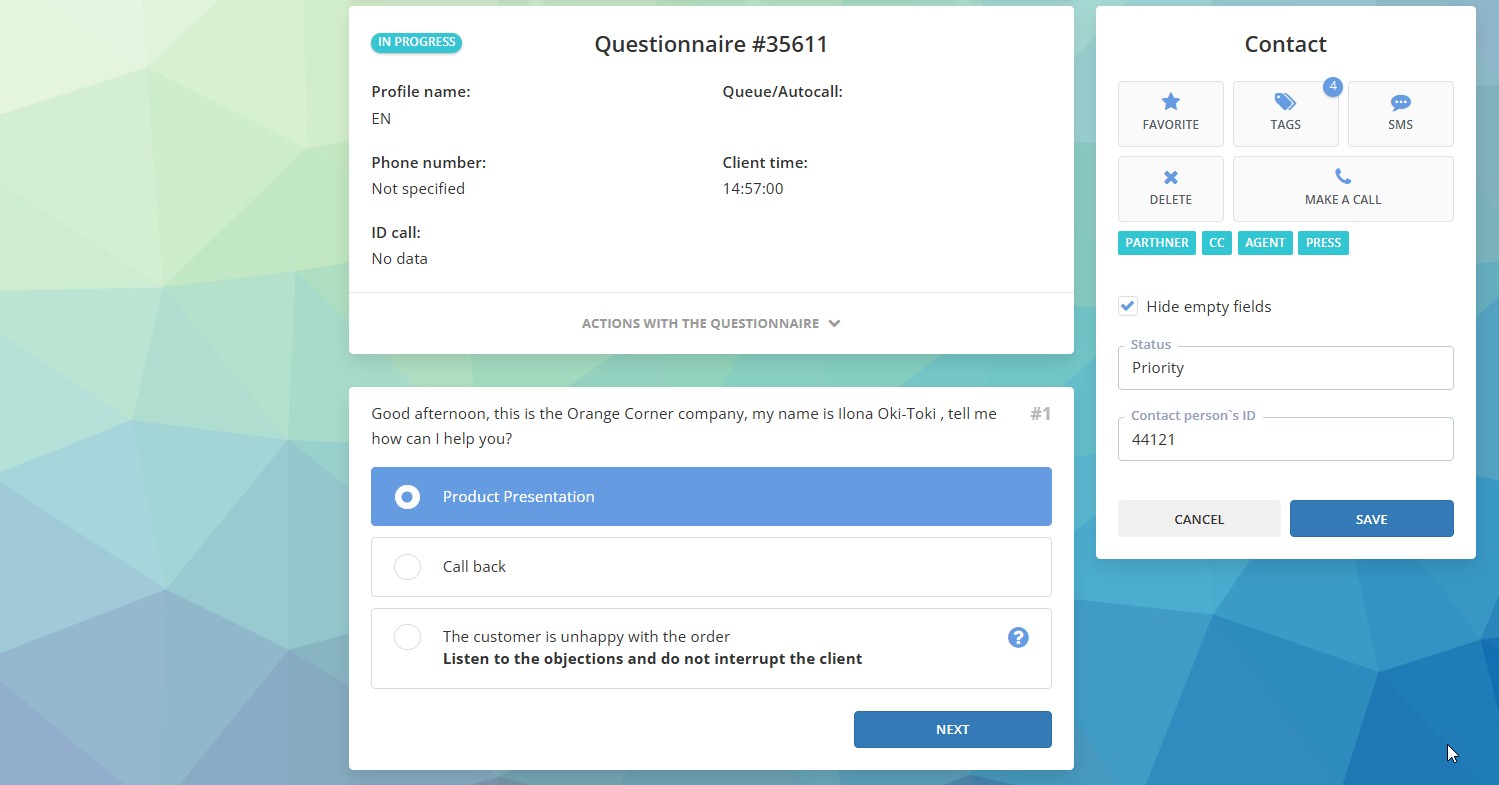
How to create a CRM form read in a separate article on the blog. The dialer is specified in the settings of form templates.
One of the useful features of Oki-Toki is the automatic opening of the form upon successful connection. That is, as soon as the customer picks up the phone, the form immediately opens in the agent’s workspace interface.
If an employee needs a delay to familiarize themselves with the form or needs to open it manually – this is also configurable (when using a dialer with a call script).
Oki-Toki is not just a system for dialing numbers, but a full-fledged dialer software that can be flexibly configured for the needs of a contact center — be it sales, CATI surveys, or informing clients.
How to set up a dialer for CRM contact center
First, the database of contact numbers must be current and structured. Second, it is necessary to clearly define the goals of the campaign — what exactly we want to obtain from the client. Third, a correctly composed dialer form is the key to success. It should be concise, clear, and cover the main issues that need to be clarified.
The possibilities of a dialer in a contact center are virtually unlimited and depend only on settings. You can use a dialer for initial filtering or for working with interested leads. A robot can call thousands of numbers a day, transferring only those calls where the client picked up the phone, filtering out missed calls and answering machines. Client calling in CRM becomes easier when routine work is automated.
A dialer for the contact center can be used in various situations. For example, for appointment reminders, informing about new services or promotions. The dialer works as a standalone tool or in conjunction with agents. How to set up an automatic call by a robot read in a separate article on the blog.